This is the second year that Kevin and I have co-taught a yr 7 digital technology course, which runs for about 24 lessons on a rotation. (You can find previous reflections on this course (the first one is from this year when we introduced a greater focus on the technology curriculum here, here and here). We have used the BBC Micro:bit from the start. Micro:bits are reasonably cheap, there are LOADS of resources and ideas available, and the microbits offer lots of different ways to adapt coding for students with different ability and confidence levels. We generally work through some data representation and algorithms before introducing the microbits and coding – sometimes (depending on time) we also include some of the hour of code tutorial activities for a more self directed introduction.
About half way through this year, we introduced a ‘micro:bit monster’ after Kevin saw the idea from a school in Queenstown – he is currently on camp so I apoligise I can’t acknowledge this as much as I’d like. We liked the idea and saw it as a way to get a more authentic brief design and planning for practice task into the course. And so Kevin wrote up a brief design plan for the onenote, and away we went
The currently module group is our third iteration of the project, and I think we have got it ‘right’. Judging by the hour I just spent with 28 yr 7’s who were all working with an engaged hum, they think so too…..
To start, we have a onenote template that scaffolds the expectations for the students – essentially what evidence they need to show to meet the planning for practice learning outcomes.


We then ‘let the students loose’ for want of a better phrase as they complete their own designs in their own sections
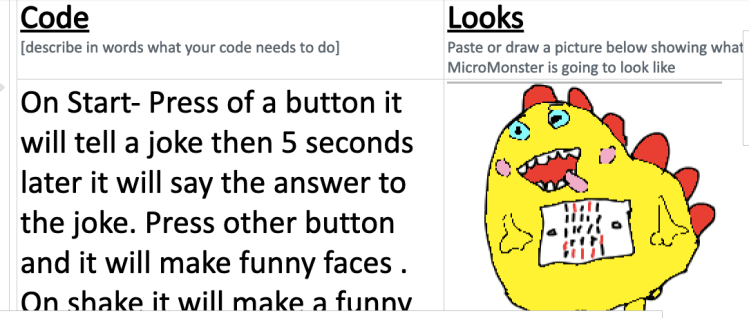
Then the students get to be creative and build their micro:bit costumes 🙂 It is a bit messy, but super fun, and gives some little iteration ideas – like making holes for the buttons, or for the leads to attach speakers too. And create the code for the micro:bits


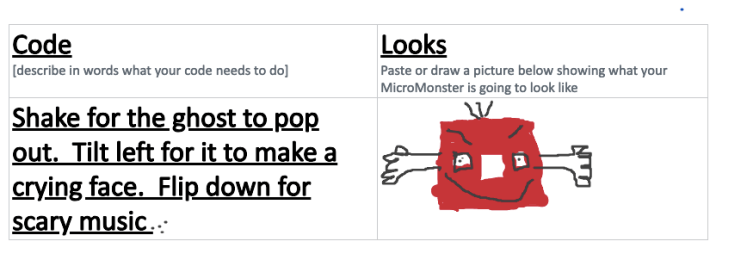
Some cool costumes made for the micro:bit pets and/or monsters – the blue and red one with the leads coming out of it had to be modified so the speakers could be attached, so it got ‘spiky’ teeth


And then using the makecode site for the code
We then ask the student to make little video clips of their microbit monsters and pets to show us what they could do, which the upload into their onenotes.
These little monsters have been a really fun way for the students to incorporate some code while fitting the technology curriculum goals. We have found students really engaged in this project, and they all push themselves along – one group decides their monsters would use the radio functions and get their monsters to play paper scissors rock with each other!
So this cool little idea that Kevin found has worked really well for us 🙂 There are some much more developed ‘pets’ than ours at https://makecode.microbit.org/courses/csintro/making/project if you wanted to have a look, and some really great examples on youtube
Have fun

One thought on “Microbit ‘Monsters’”